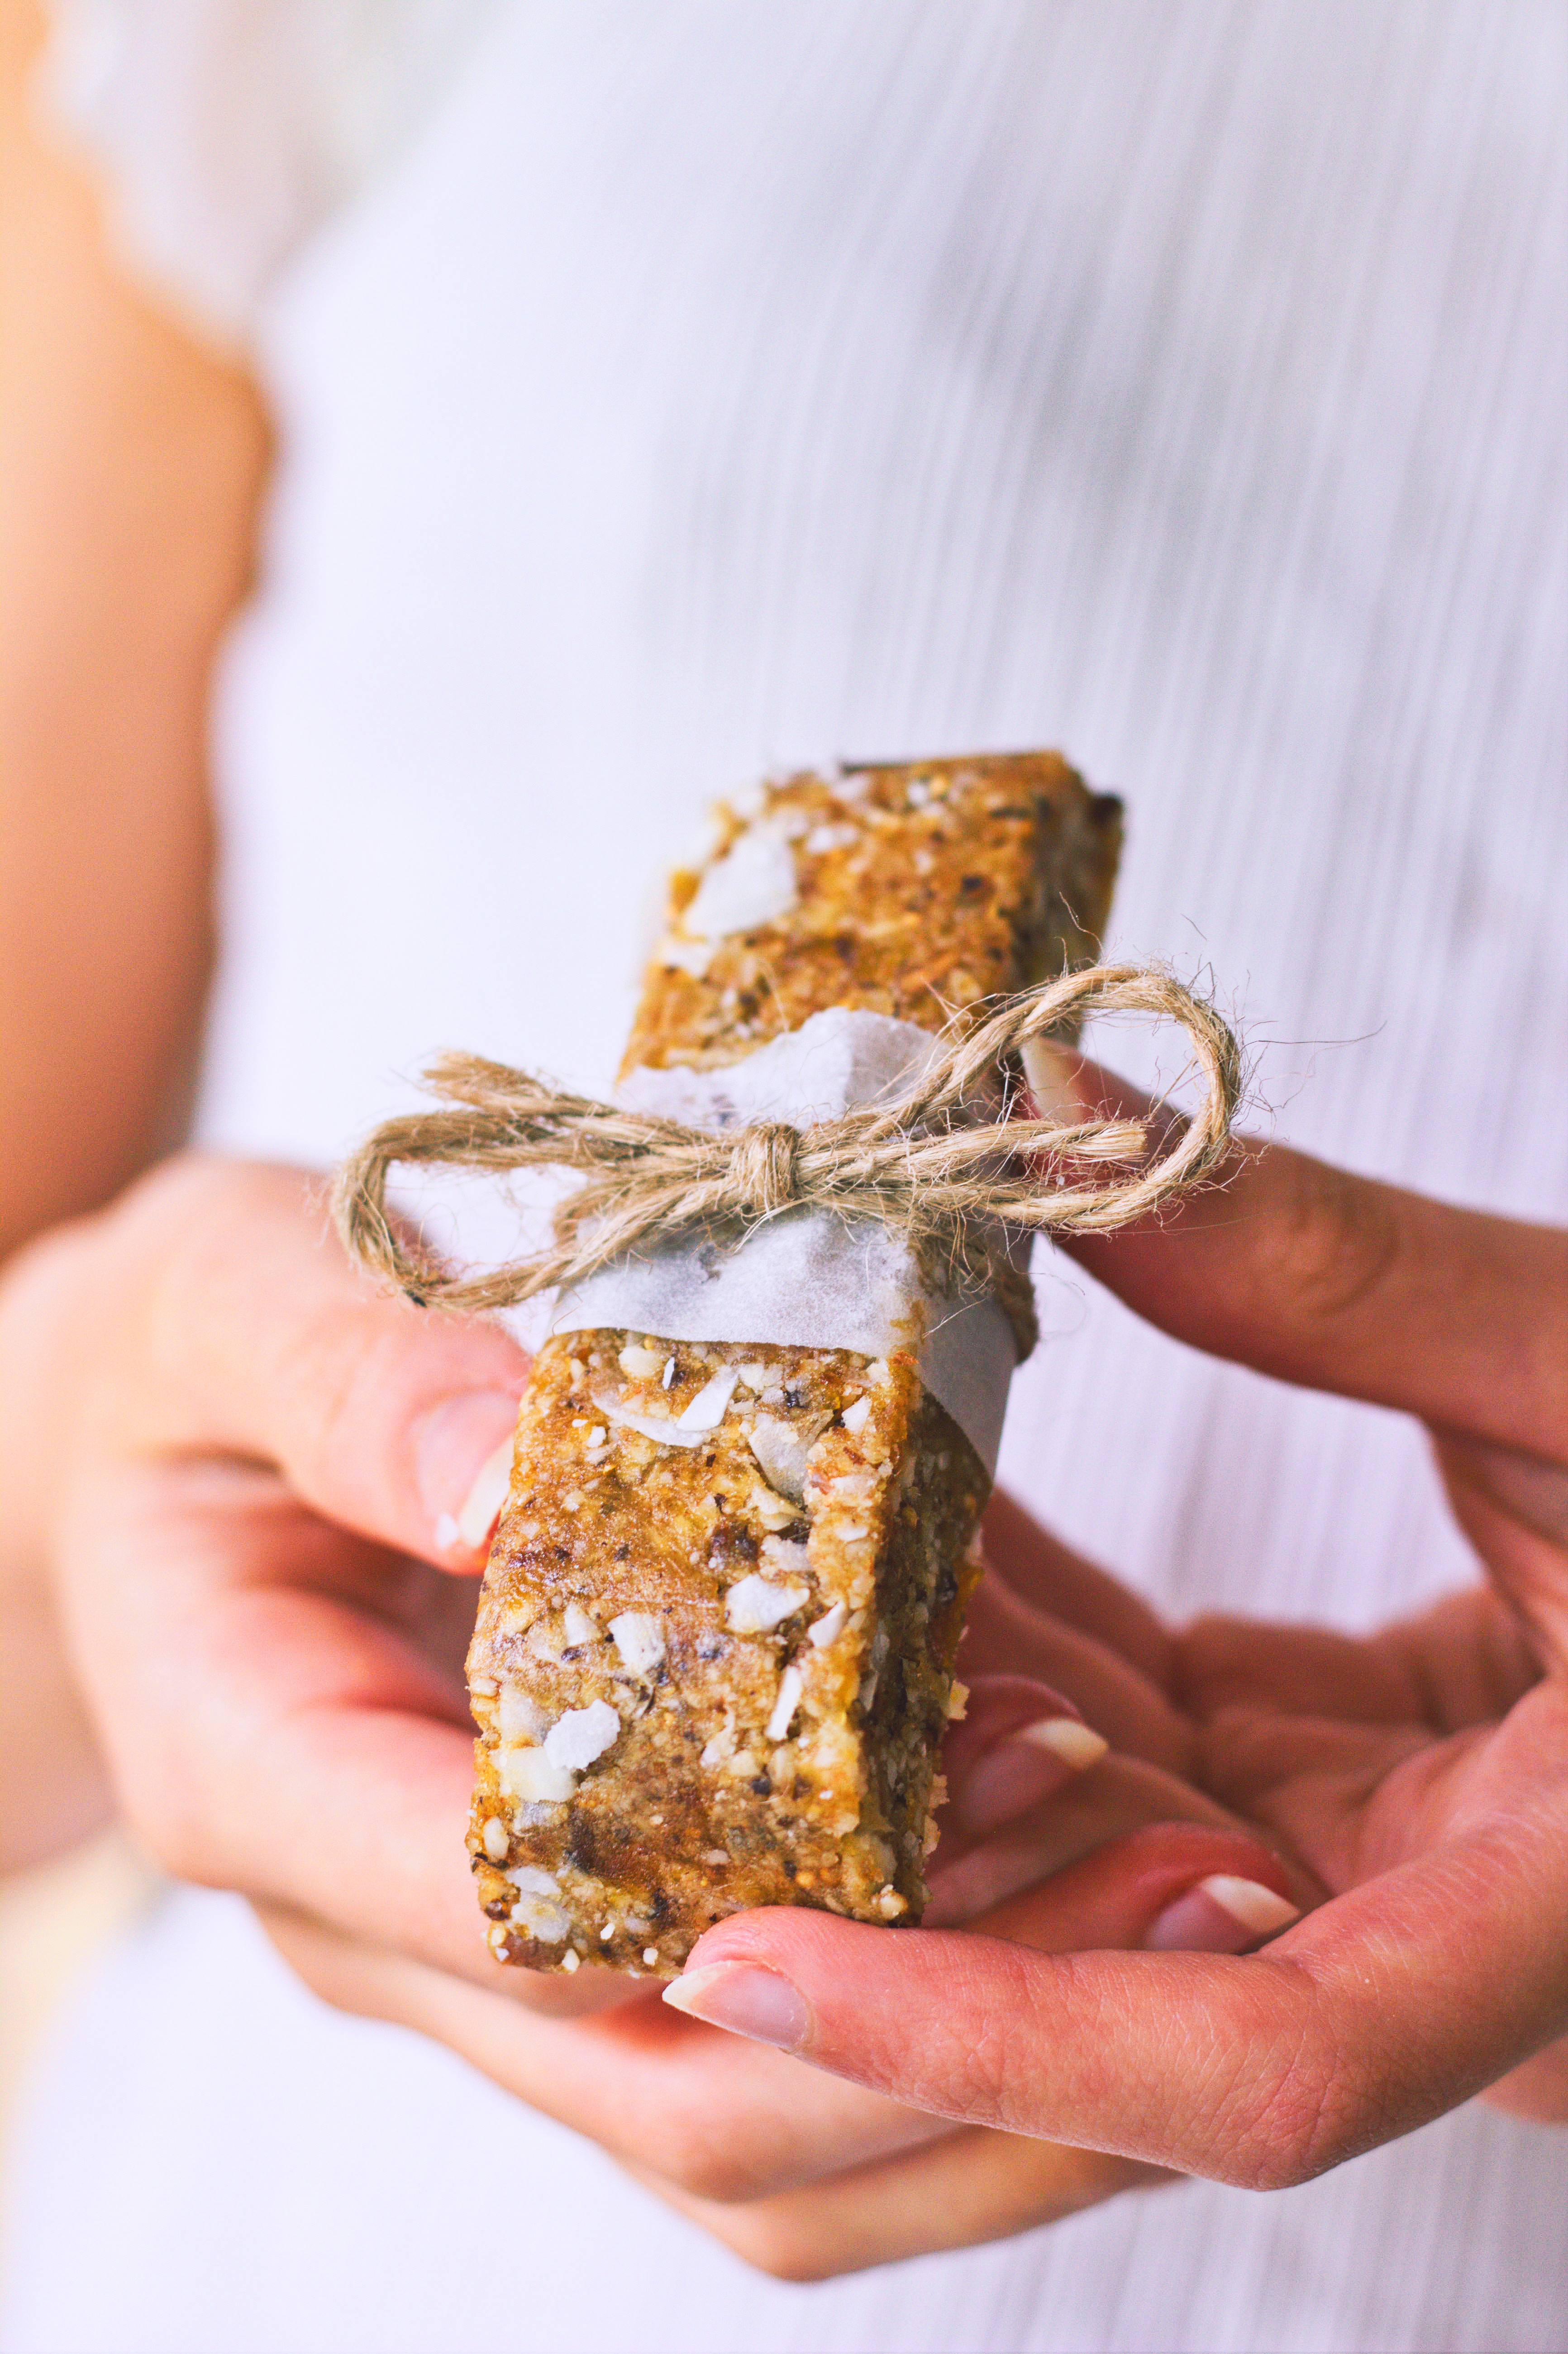
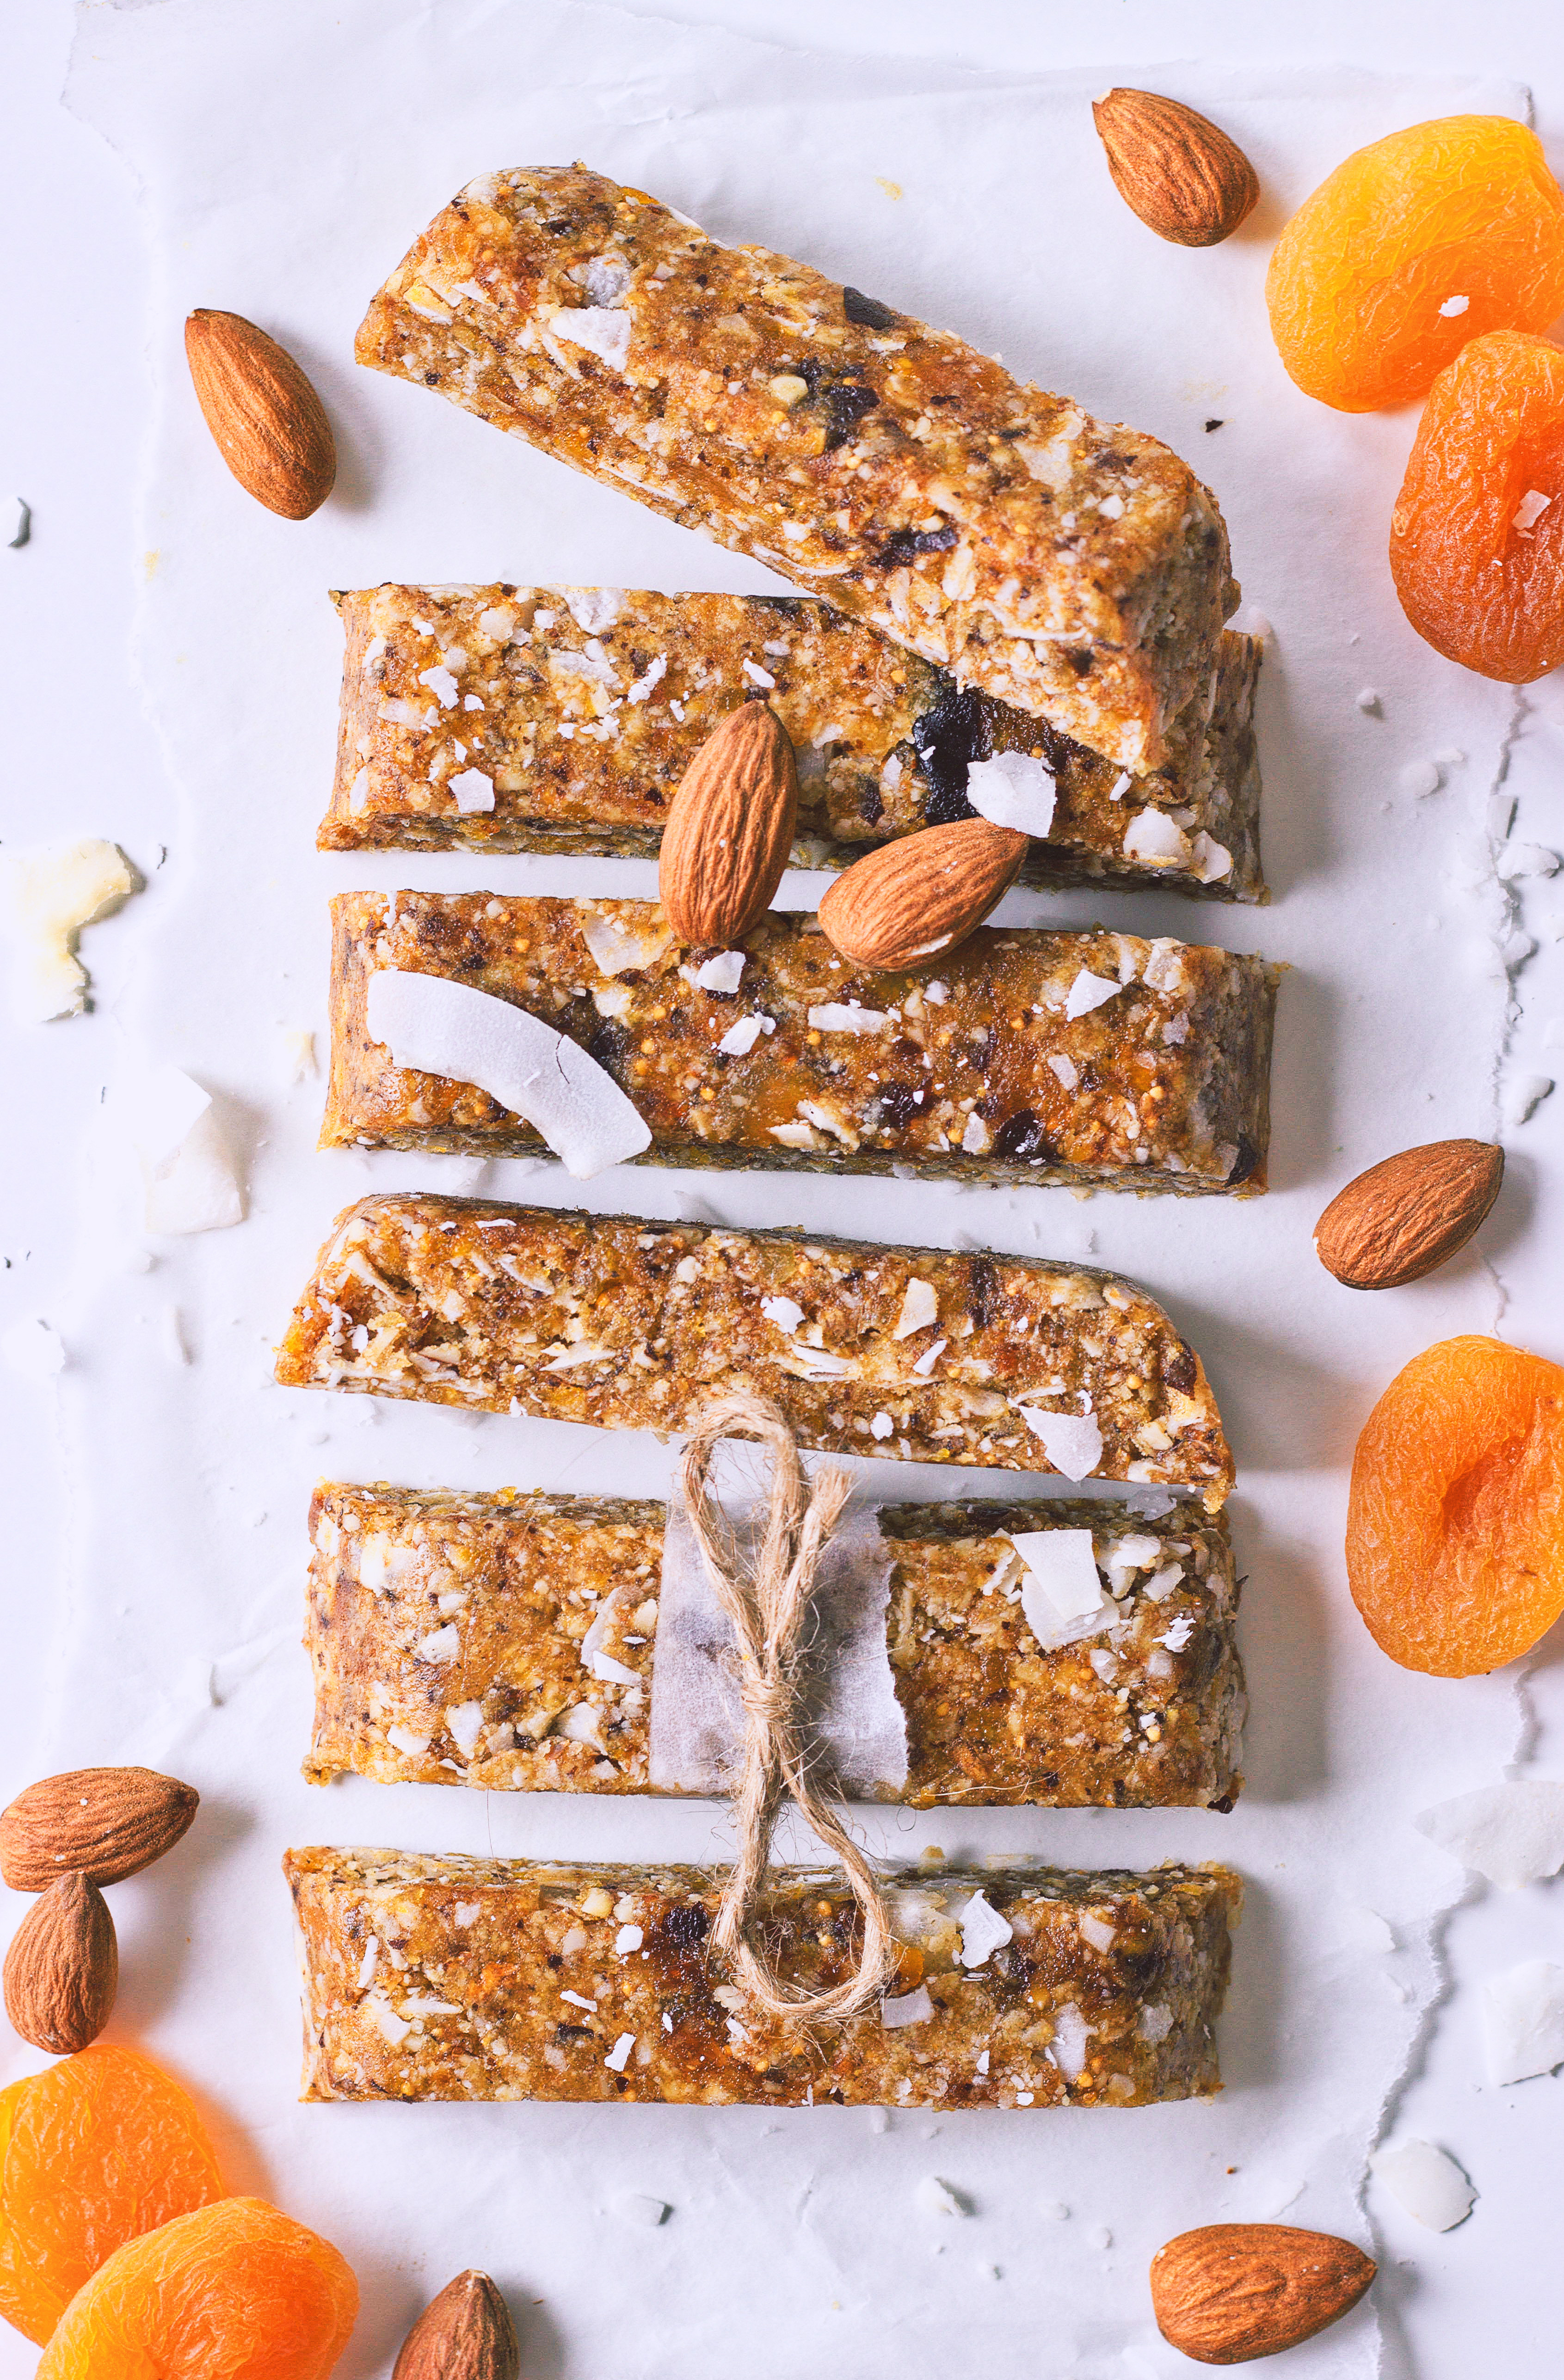
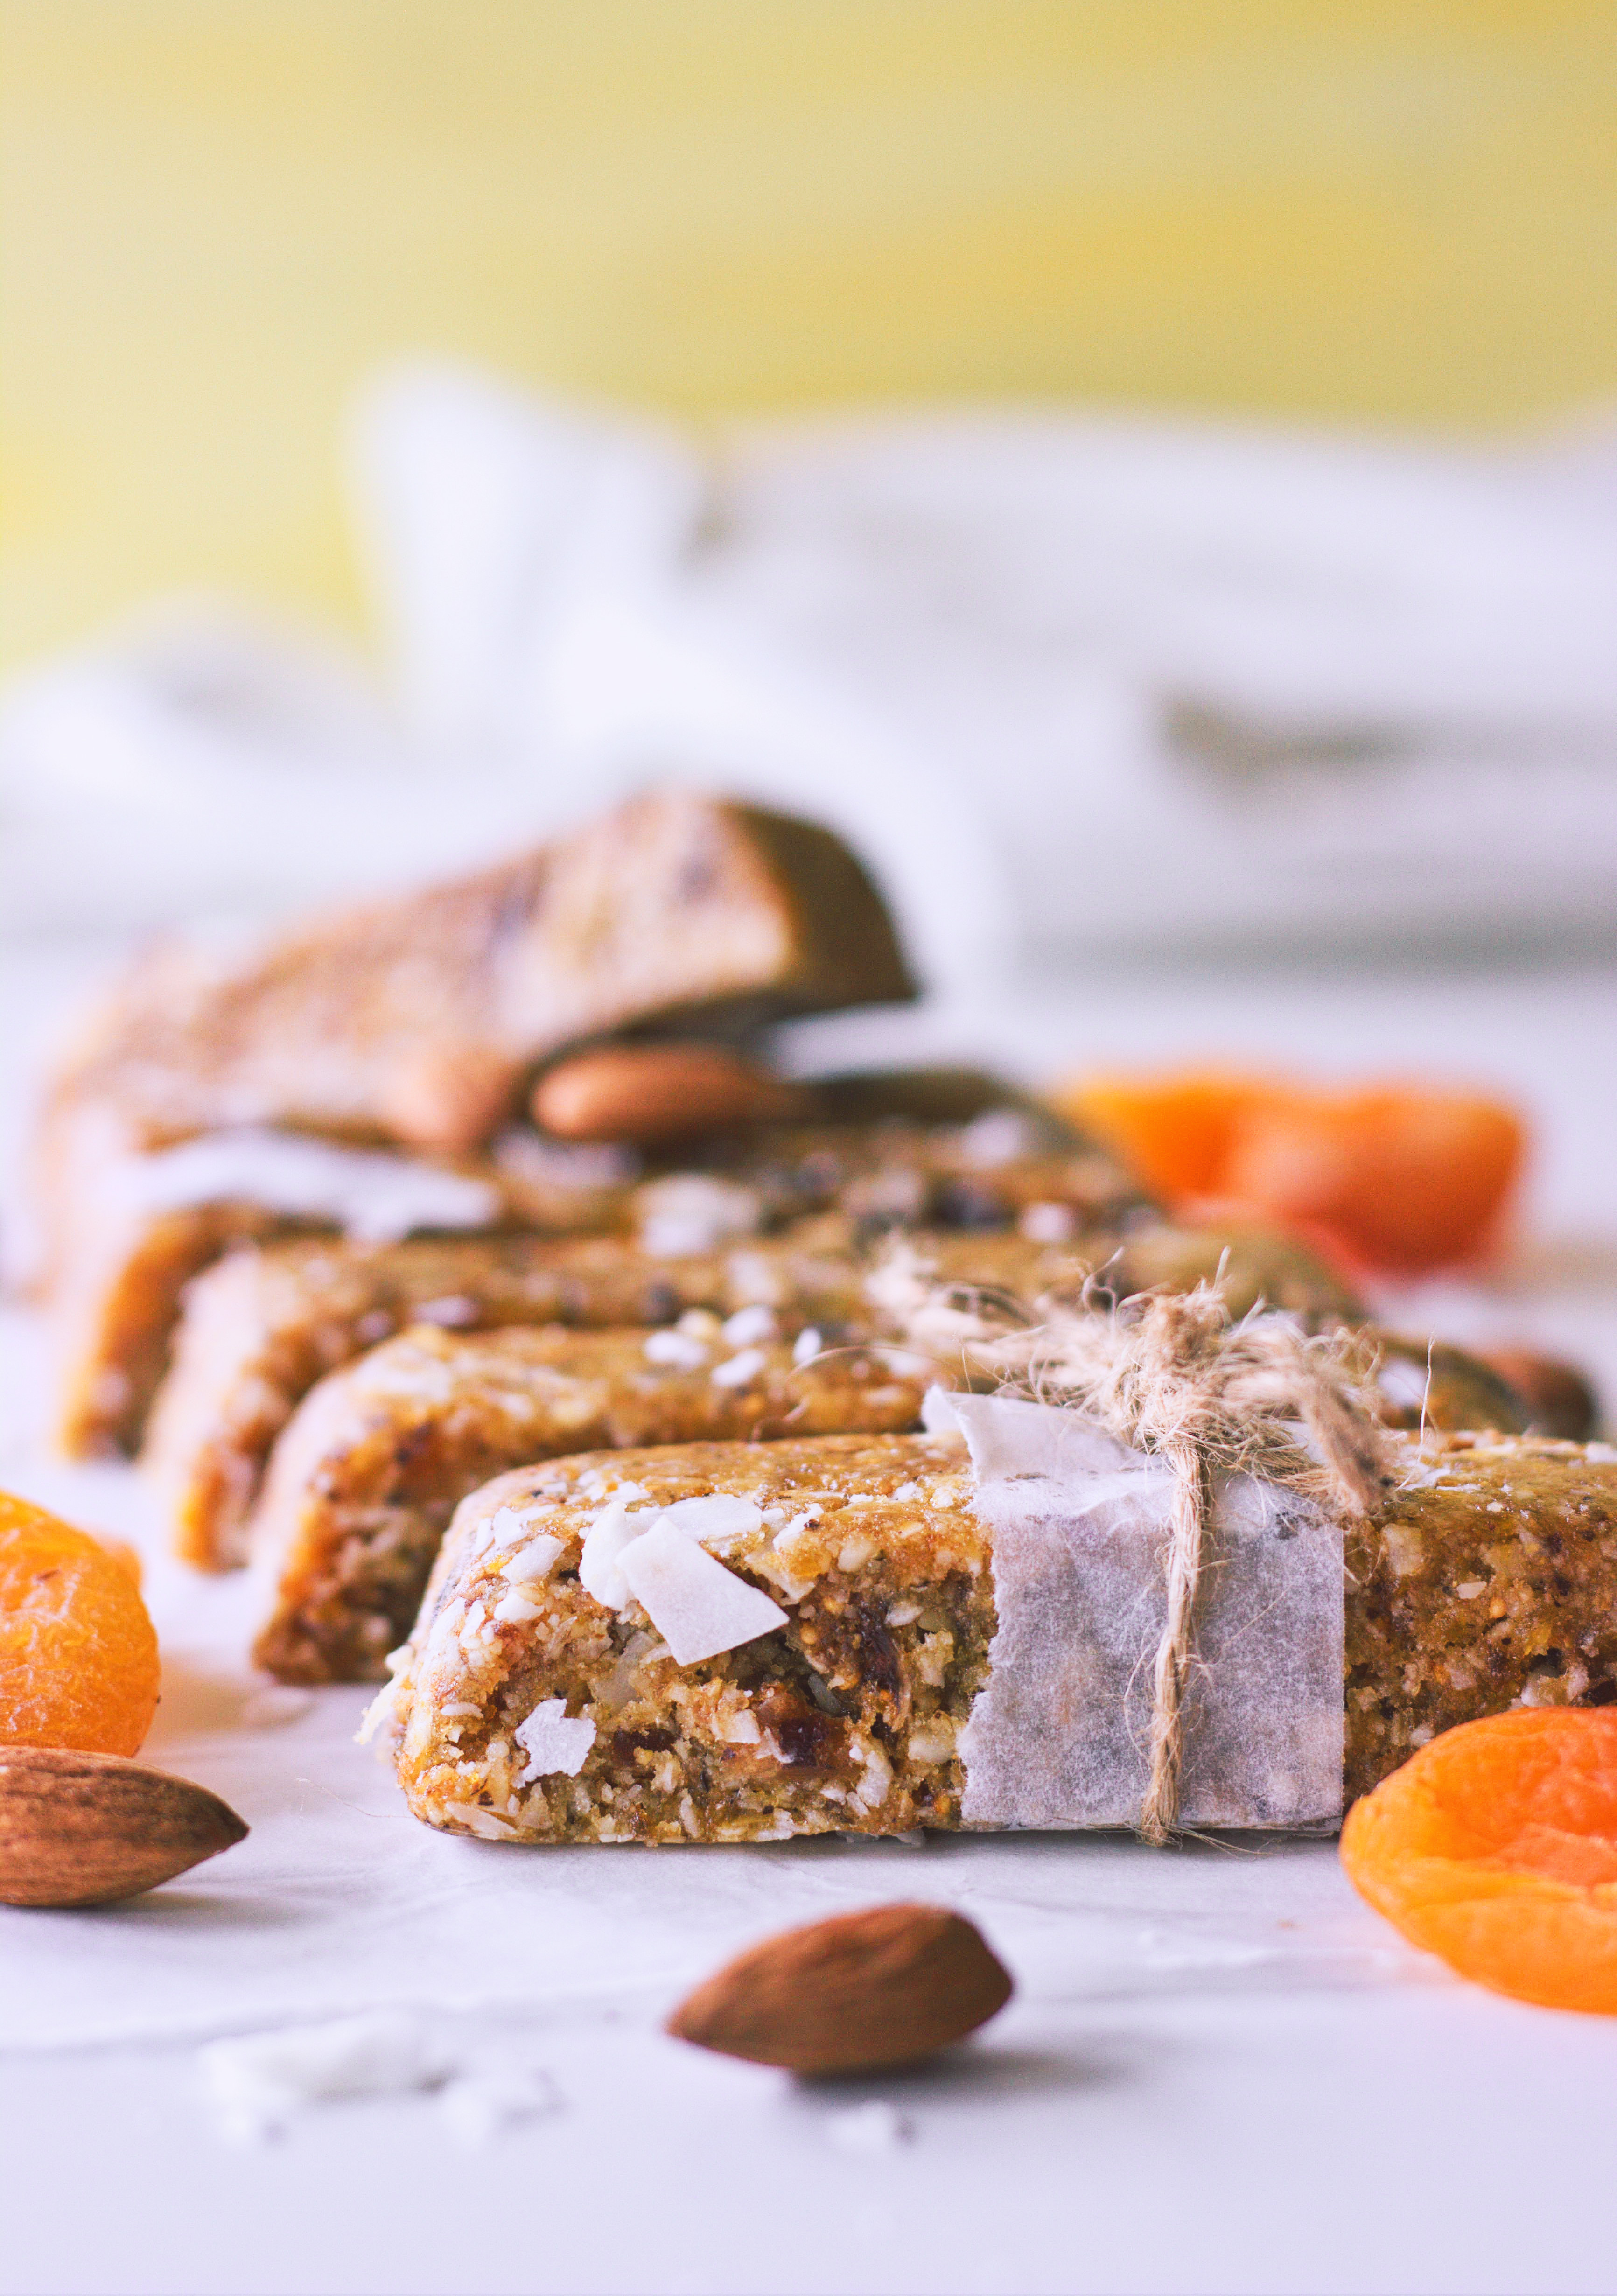
Homemade energy bars made with 3 different dried fruits: figs, apricots, and dates – LOVELY combo. Along with almond and coconut, these bars are chewy, sweet, and packed with energy and fibre. Whizz up everything in your food processor, let it set in the fridge, slice into bars, and pop one in your lunch box for a healthy snack on the go!
Hi, Sprouts.
I’ve now spent an entire week at my new school, and a thing I do love about it is that they offer art as a subject and allow me to have LOTS of it, and compared to the super (SUPER) broke public school I attended for 9 whole years, this one has almost literally a hobby and craft store’s worth of art supplies for me to use.
But I have been kinda tired and stuff lately, so I’ve decided to ~let loose~ a little with my weekly recipe schedule. If I shoot a recipe I feel like posting, great. If I don’t, that’s okay, too. Shooting this recipe was hard, but now, as I’m sitting in my dark room Thursday night about to eat dinner (I’m having baked sweet potato with sautéed veggies, chickpeas, avocado, and salsa), I’m glad I did it because once I finally got off my ass and made them, I was reminded of just how good they are – and I’m like, how? They literally only have 5 INGREDIENTS!
I love a convenient store-bought vegan snack when that 3:00 p.m. hunger kicks in (my favourite brands include My Raw Joy, Rawbite, Get Raw, and CLIF Bars), but lately I’ve been doing really well at making my own snacks – whether that’s making an actual “snack” or, on lazier days, just eating leftovers from dinner or lunch.
There’s lots of energy bar flavours out there (and as mentioned before, I’ve tried my fair share of them), but I absolutely love the combo of fried figs, apricots, and dates. Mixing those different dried fruits together makes a lovely flavour I haven’t seen in any store-bought bars. And with the coconut, they have a really nice tropical taste.
Making your own energy bars at home gives you the power to choose your own flavours and ingredients – whichever you like – and it’s also a lot cheaper. You can change it up every week, this is just one idea. I could see myself making salted caramel bars (with cashew butter and salt) and raspberry chocolate bars (with cocoa powder and freeze-dried raspberries), too, just to name a few other ideas at the top of my head. And whereas one 50 g bar can cost 20 DKK ($3) in Denmark, these are a whole lot more affordable if you’re on a budget.
These bars do go a little soft and sticky if left out of the fridge for a while, so I recommend keeping them chilled, but they taste good either way. If you want them to be a little firmer, you can always add more almonds, but I didn’t want to go too hard on my blender. I hope you love these bars as much as I do!
If you try this recipe, let me know what you think about it. Rate it, leave a comment below, and take a picture of your bars and tag me on Instagram. My profile name is @spirendeveganer. I’d love to hear your thoughts and see your creations!
Love, Lea

")
Ingredients
-
100 g dates
-
50 g dried figs
-
50 g dried apricots
-
50 g ground almonds (see notes)
-
50 g coconut flakes
Method
Line any type of square dish with parchment paper. I use a loaf pan.
Place the dates, figs, and apricots in a blender or food processor and blend until a sticky mass has formed, then add the almonds and coconut flakes and blend again until the mass has become semi-tacky. You might need to pause and scrape the sides many times. The mass shouldn't stick too much to your fingers, but stick when you press it together.
Transfer to the lined dish and press down evenly. I only press it into a little more than half of my loaf pan. Place in the fridge for 1-2 hours to set, then cut into 6 bars.
Keep in the fridge for up to 3-4 weeks.
Notes
I use my blender to make this because it's the strongest I've got, but you might find it easier to use your food processor. I grind almonds in my blender beforehand and like to make more to store it for when I need it later, but you can also use store-bought almond meal. If you don't want to make bars, you can always form it into balls, a log, or any other shape you'd like.